Set Up Your Own Email Template
- Mathias Edblom (Unlicensed)
- Boris Berenberg - Atlas Authority (Unlicensed)
- Tommy Nordahl (Unlicensed)
- Patrick Cartier (Unlicensed)
Analytics
The Notification Assistant for JIRA is initially configured with an email template that looks like the JIRA native email template.
You can, however, create your own email templates that may be configured with any JIRA fields you like.
The Notification Assistant supports most of the internal JIRA fields as well as custom field types such as:
| Date Picker | Multi Group Picker | Radio Buttons |
| Date Time | Multi Select | Select |
| Free Text Field | Multi User Picker | Single Version Picker |
| Group Picker | Multi Version Picker | Text Field |
| Labels | Number Field | URL Field |
| Multi Checkbox | Project Picker | User Picker |
| Read-only Text | Insight Object (3rd party plugin) | (3rd party plugin) |
Elements Connect (formerly nFeed) Custom Fields and Live Fields (3rd party plugin) | (3rd party plugin) | (3rd party plugin) |
JSD Request Participants |
Set Up an Email Template
Click on this button  to set up your template.
Below is an example of how you can set up an email template. Specify a name, email subject, and the theme to use for your email notifications. Advanced users can write their own custom email themes.
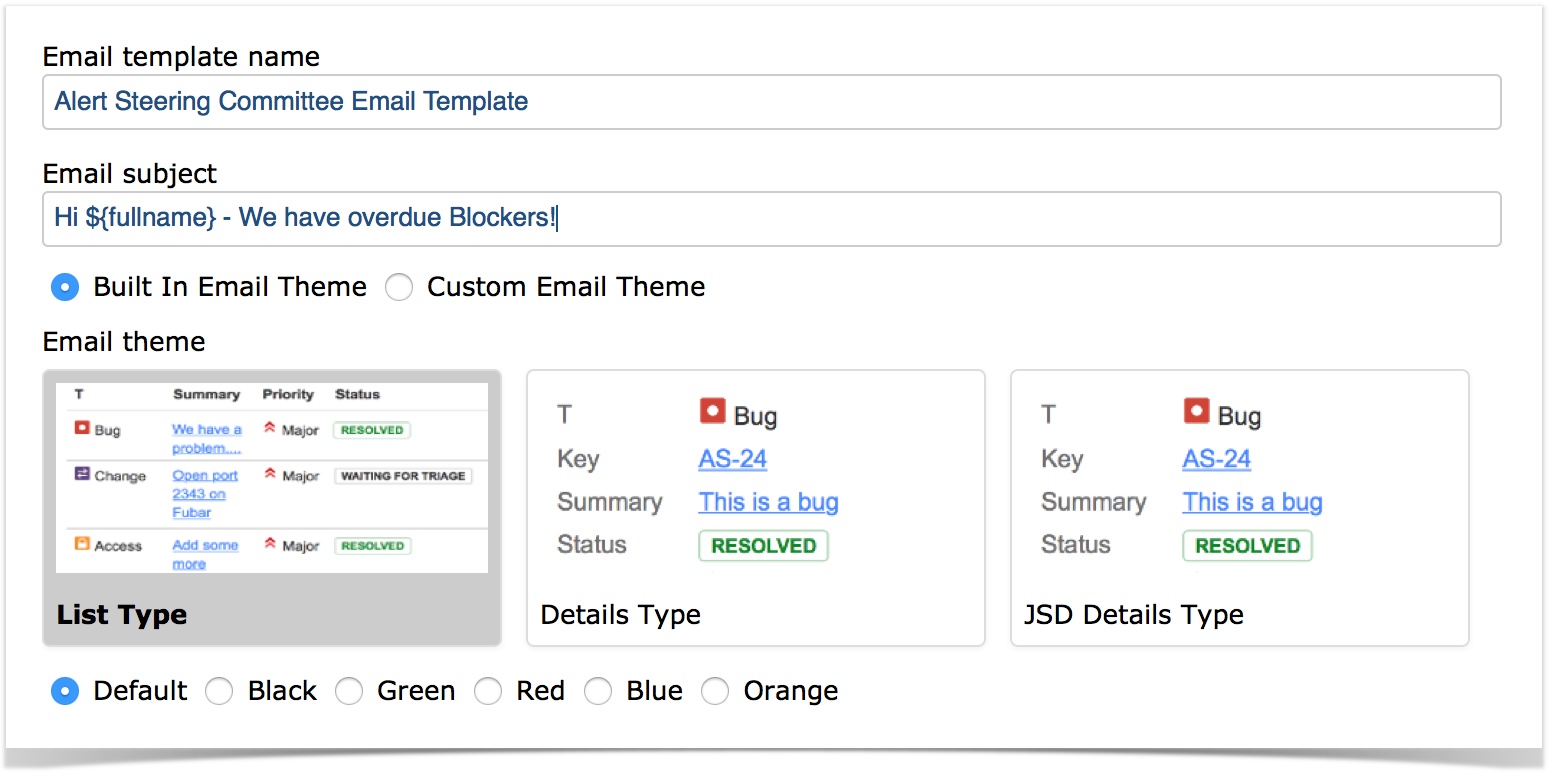
More info on setting up custom email themes is available here
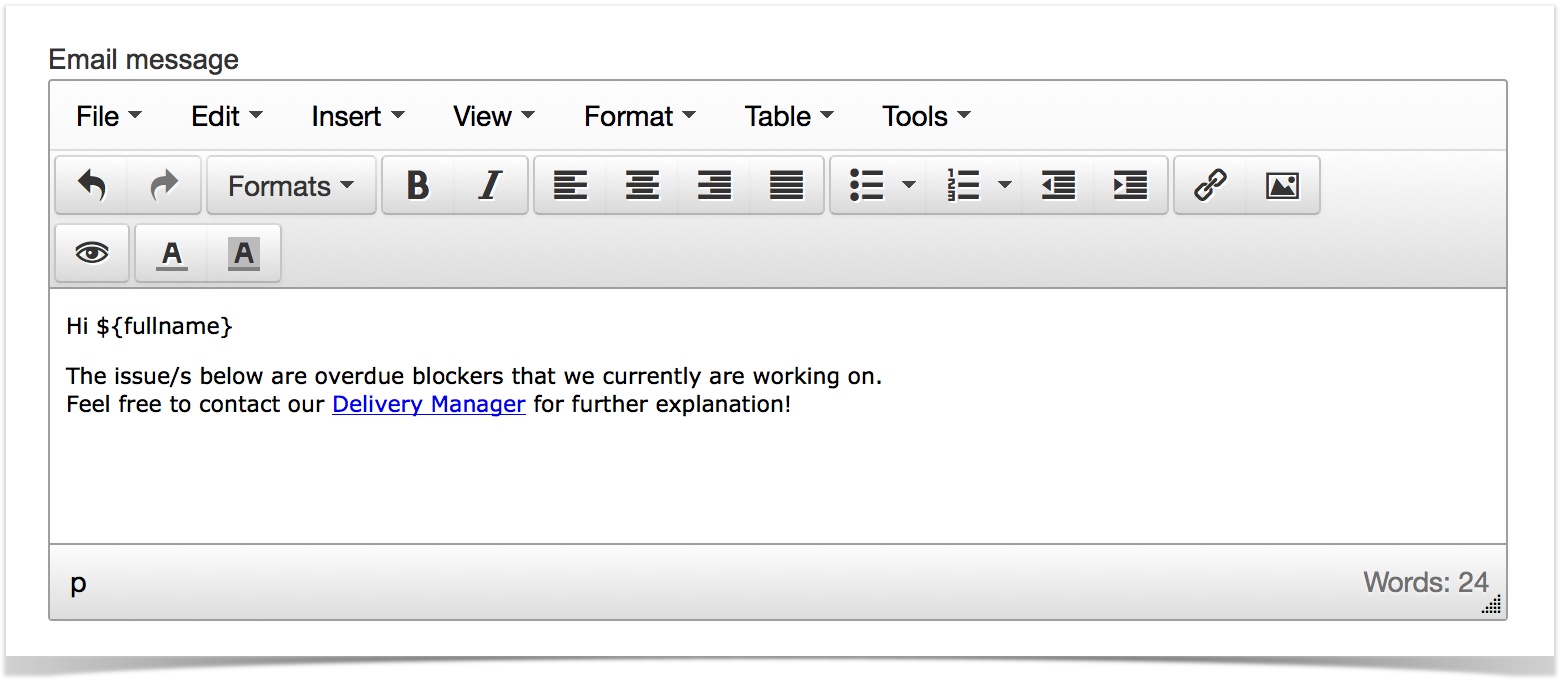
Specify some information to the recipients in the email message:
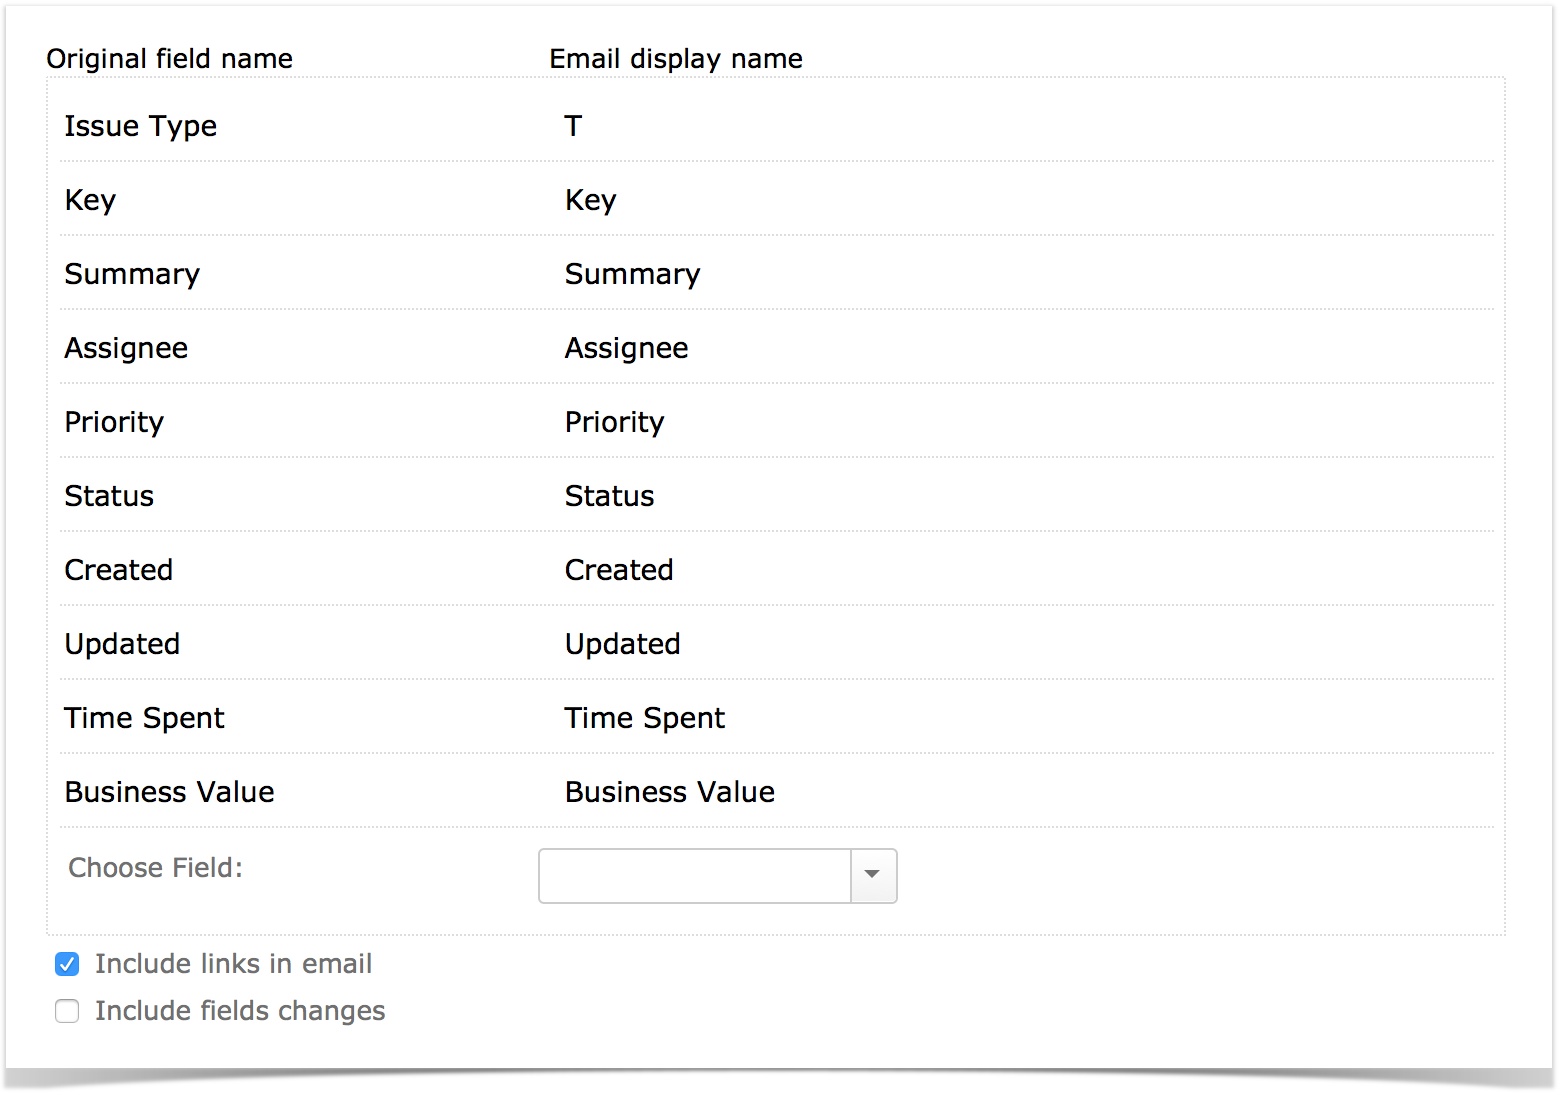
You may specify what fields you want to be displayed in the notifications. You can add, delete, and reorder as you like. You may also change the display name.
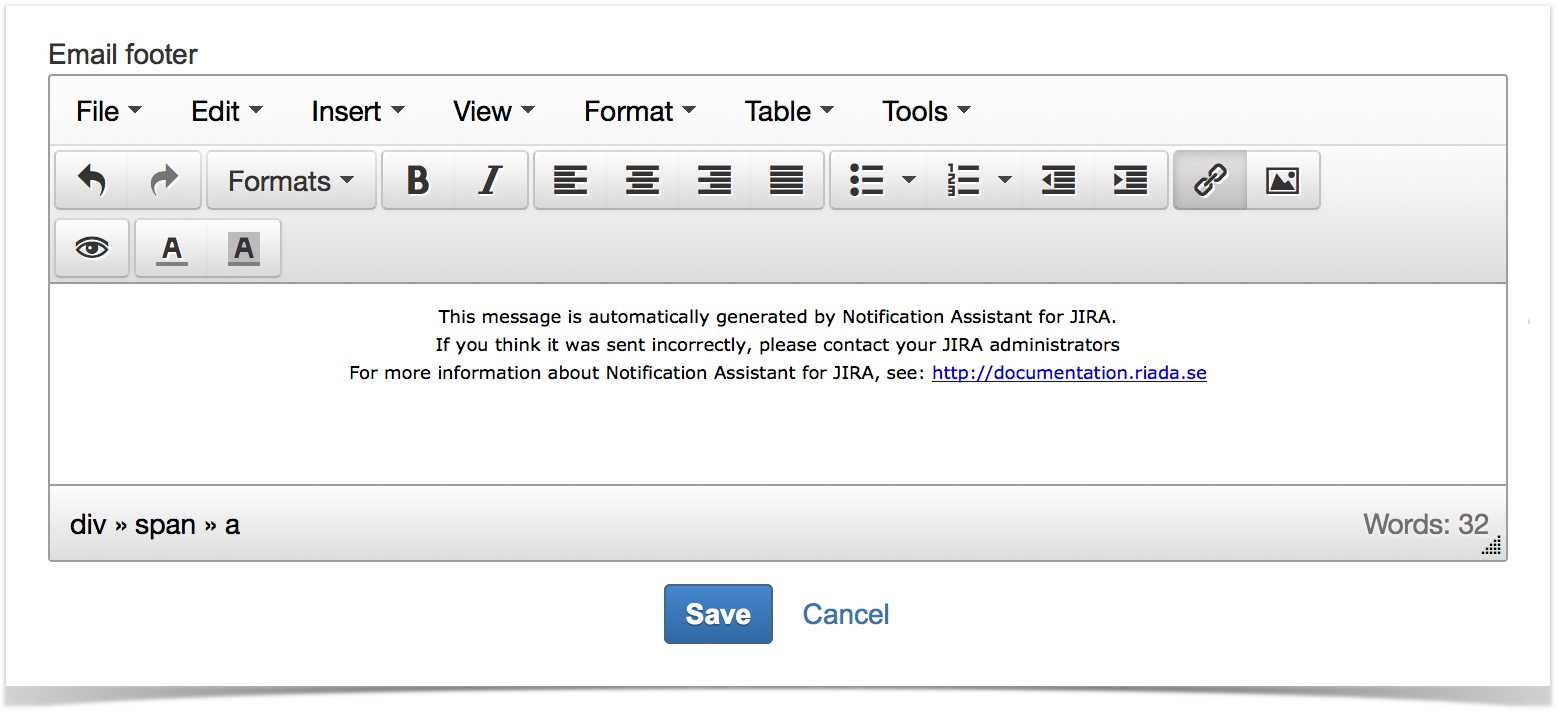
You can also configure the notification footer:
Details About the Attributes
| Attribute | Description |
|---|---|
| Email Template Name | Give your email template a descriptive name. Can not be the same as another email template name. |
| Email subject | This will be the subject of the email sent to the recipient(s). |
| Email theme | You may specify a theme for the notifications. |
| Email message | Write a message that is explanatory to the receiver, they need to know why you have set up this notification and why it's important. This message will also differ all NAFJ notifications from the native JIRA built in notifications. The message is written in an html editor which makes it possible, for example, to specify links or change the image to your own logo in the email. If you plan to send emails to remote recipients you need to make sure your logo can be accessed outside your company firewall. |
| Original field name | The original field names that are configured in this email template. |
| Email display name | The displayed field names that will be shown in the notification emails. Modify them as you like. |
| Choose Field | The input field to add new fields to the email template. |
| Include links | If there should be any links back to JIRA in the email template |
| Include field changes | Add the changes of a field to the notification, and also any updated field that you haven't configured. This only applies for event triggering. |
| Email footer | Specify a notification footer. The footer is written in an html editor which makes it possible to include links or change the image to your own logo in the email. If you plan to send emails to remote recipients you need to make sure your logo can be accessed outside your company firewall. |
Advanced Details with Placeholders
Read Placeholders 6.x for more information.
Add New Fields in an Email Template
You can add new fields to the email template (supports auto complete):

Change Email Display Name
When placing the mouse over each row you will get a list of functions where you can edit your fields. Click on "Edit" to change the email display name.

You will see this dialogue:

You can change the display name to fit your purpose, it will then be displayed in the notification emails.
The default for "Priority" is "P" as in the JIRA native email template.
Change Position/Ordering of the Fields
You can change the order of the fields in the notification emails.
Just drag and drop them in the desired order, it can look like this:

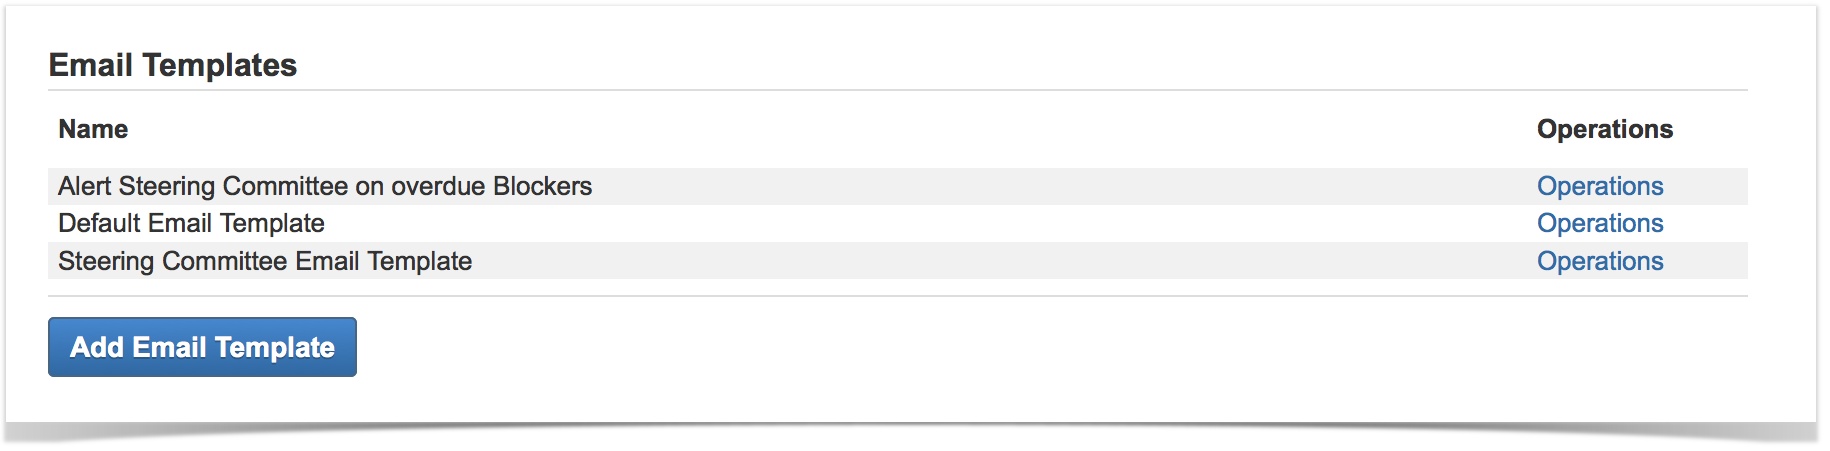
Your Configured Email Templates
You can now see your configured email templates at the bottom of the NAFJ configuration screen.