During development, enable two dark features on the Confluence server:
Enable
migration-assistant.app-migration.dev-modeEnable
migration-assistant.app-migration.feature
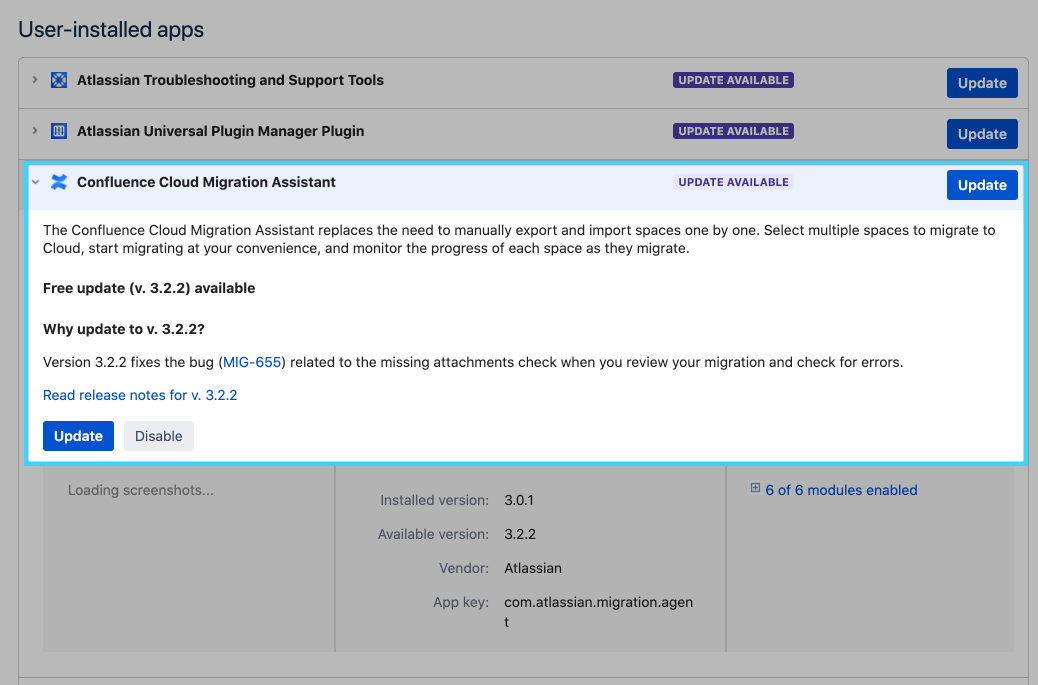
In Confluence server, make sure Confluence Cloud Migration Assistant (CCMA) is up to date.

Assess and Install apps for Migration Assistant
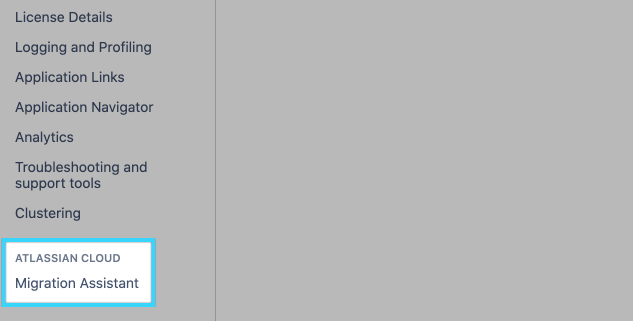
Go to Migration Assistant in the Settings page
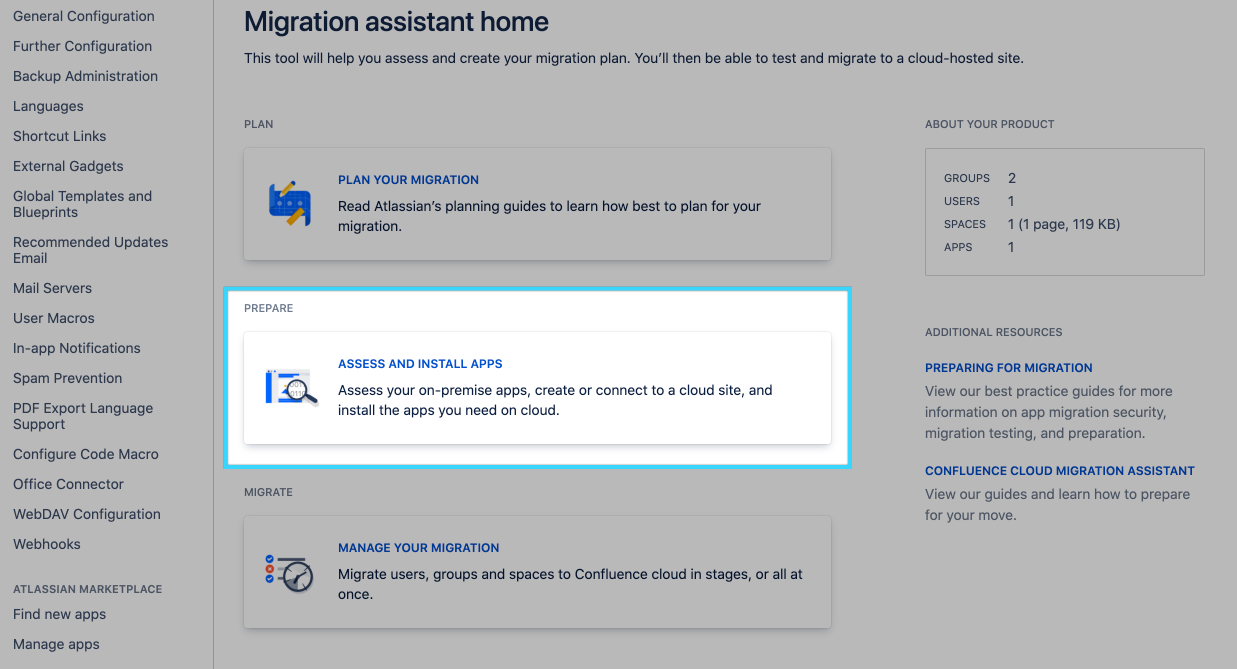
Click “Assess and Install Apps”
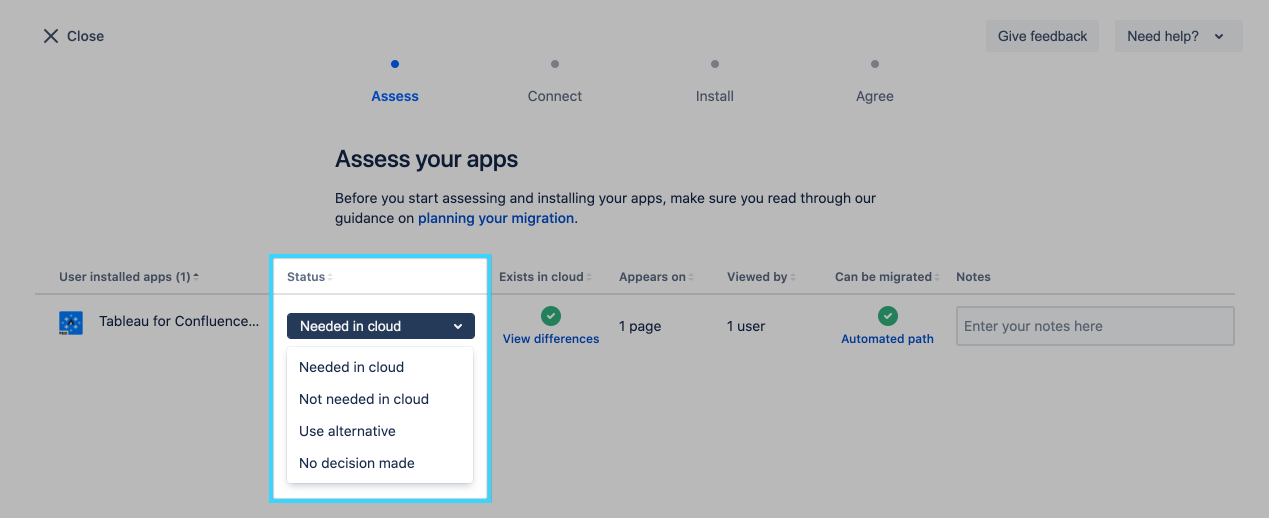
On the “Assess” page, choose “Needed in Cloud” for Tableau for Confluence - Pro
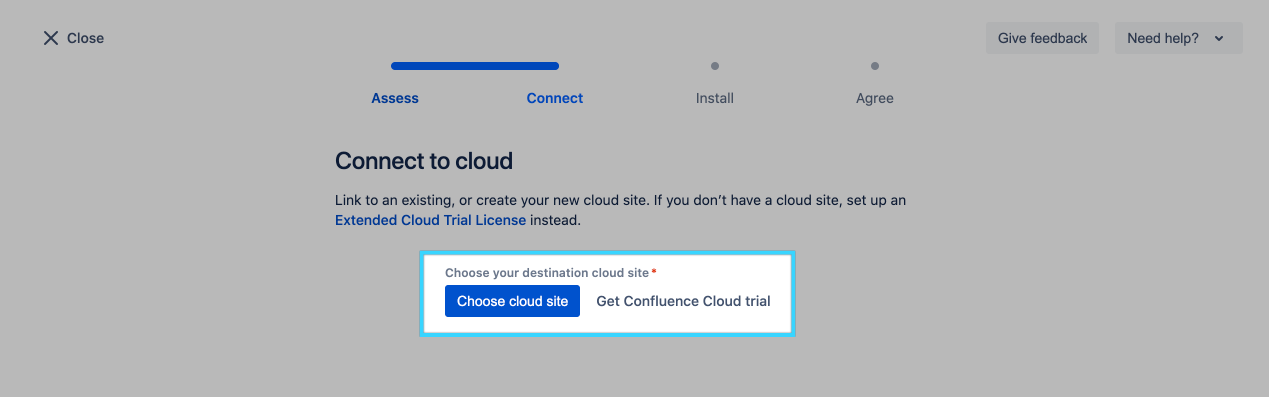
On the “Connect” page, connect your Confluence server instance to your Confluence Cloud site

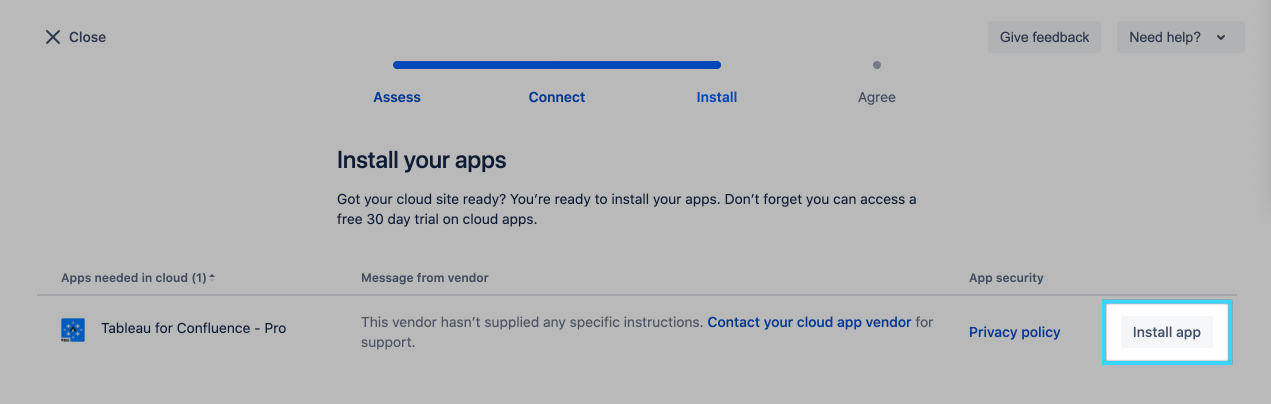
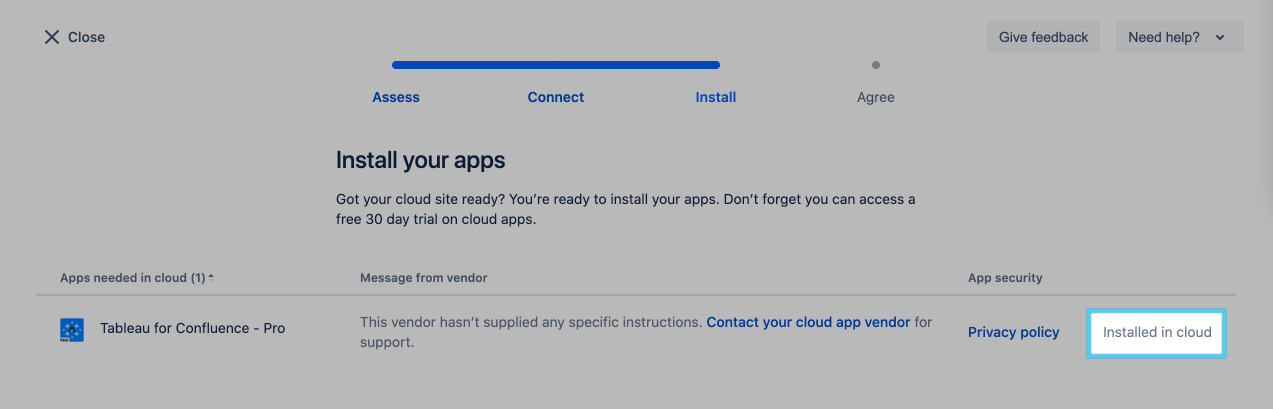
On the “Install” page, make sure Tableau for Confluence is installed in your cloud site:
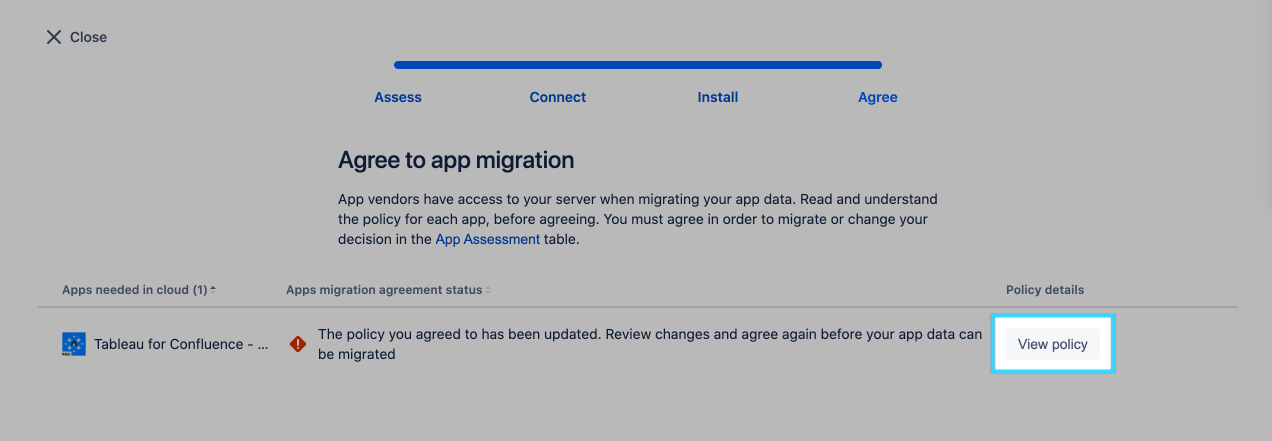
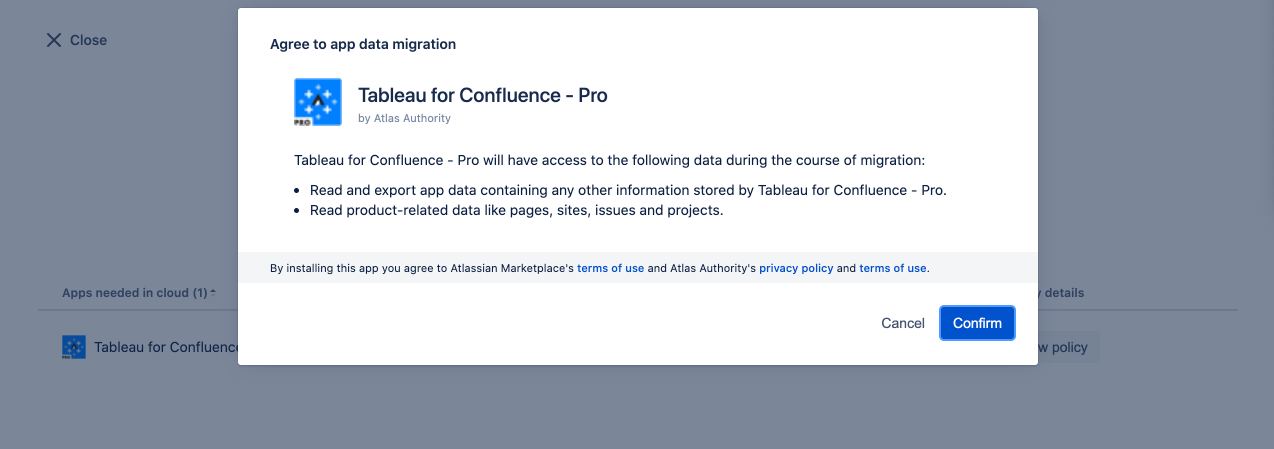
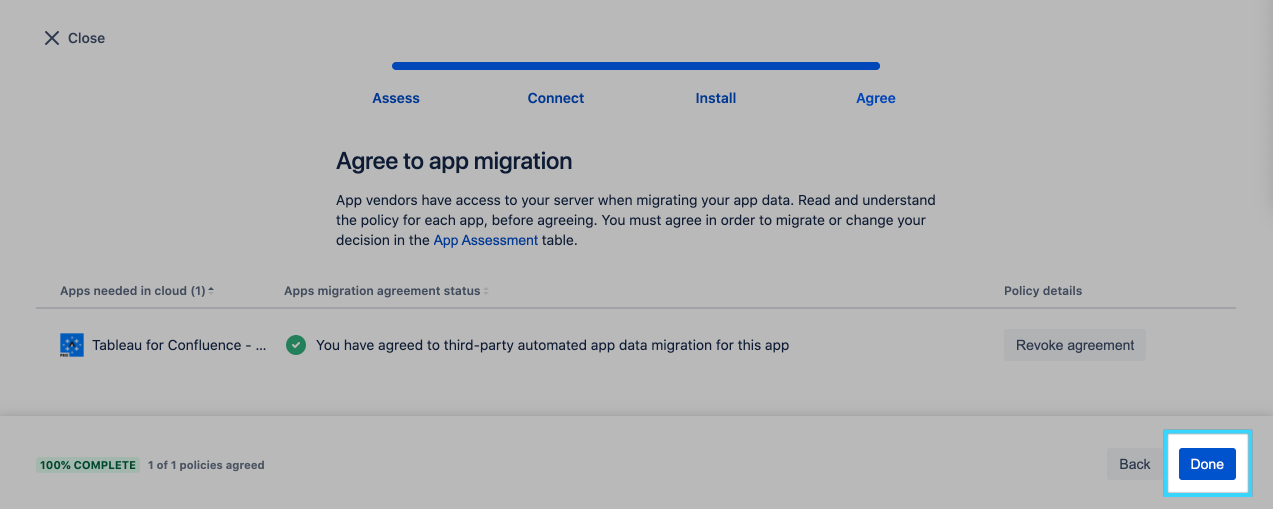
On the “Agree” page, make sure to accept the migration policies
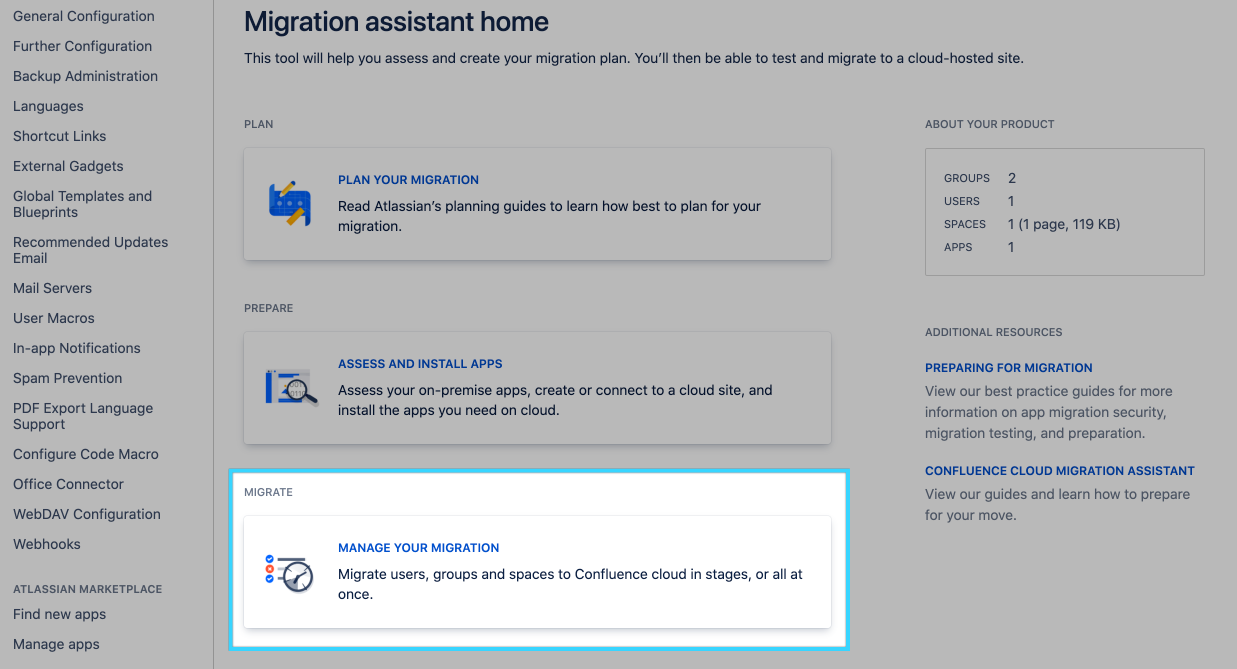
Start a new migration
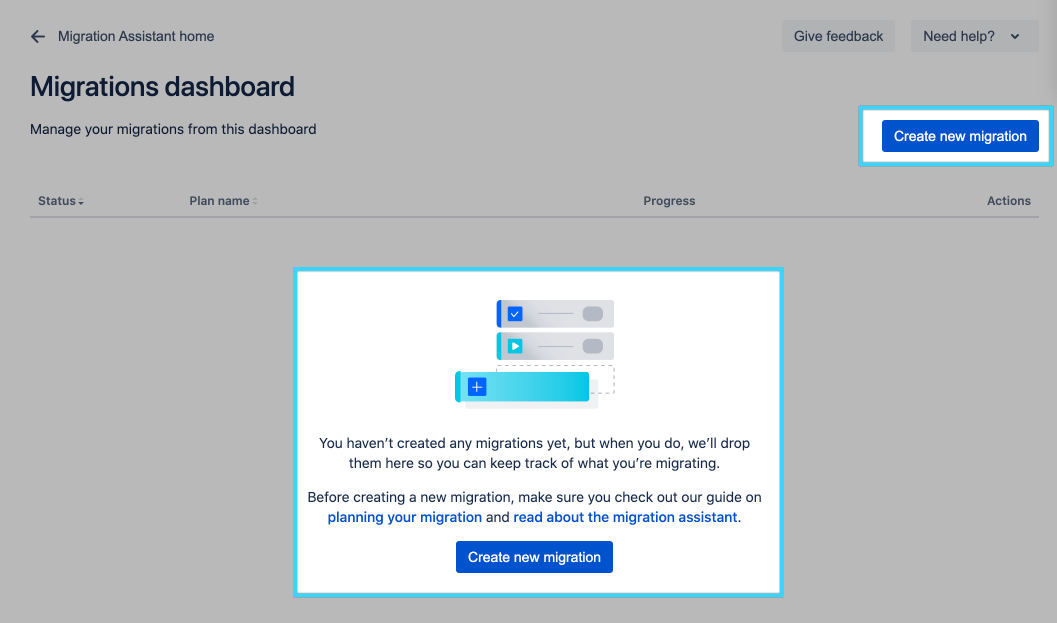
On the “Migration assistant home” page, click “Manage your Migration”
On the “Migrations dashboard” page, click “Create new migration”
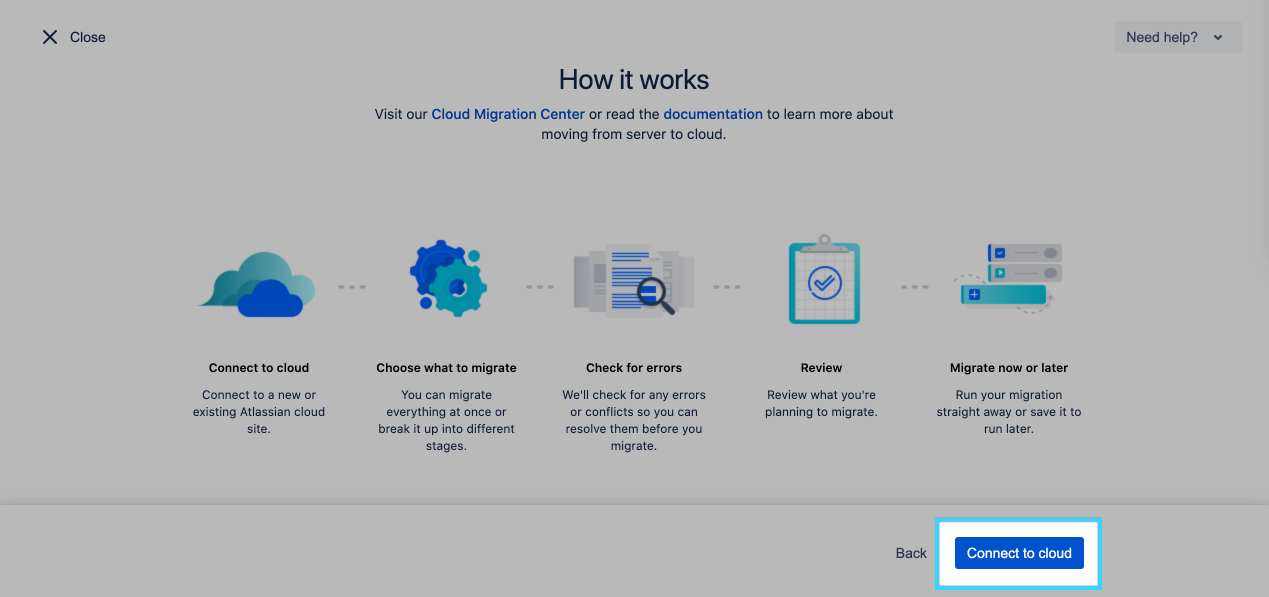
Review the instructions as needed, and click “Connect to cloud”
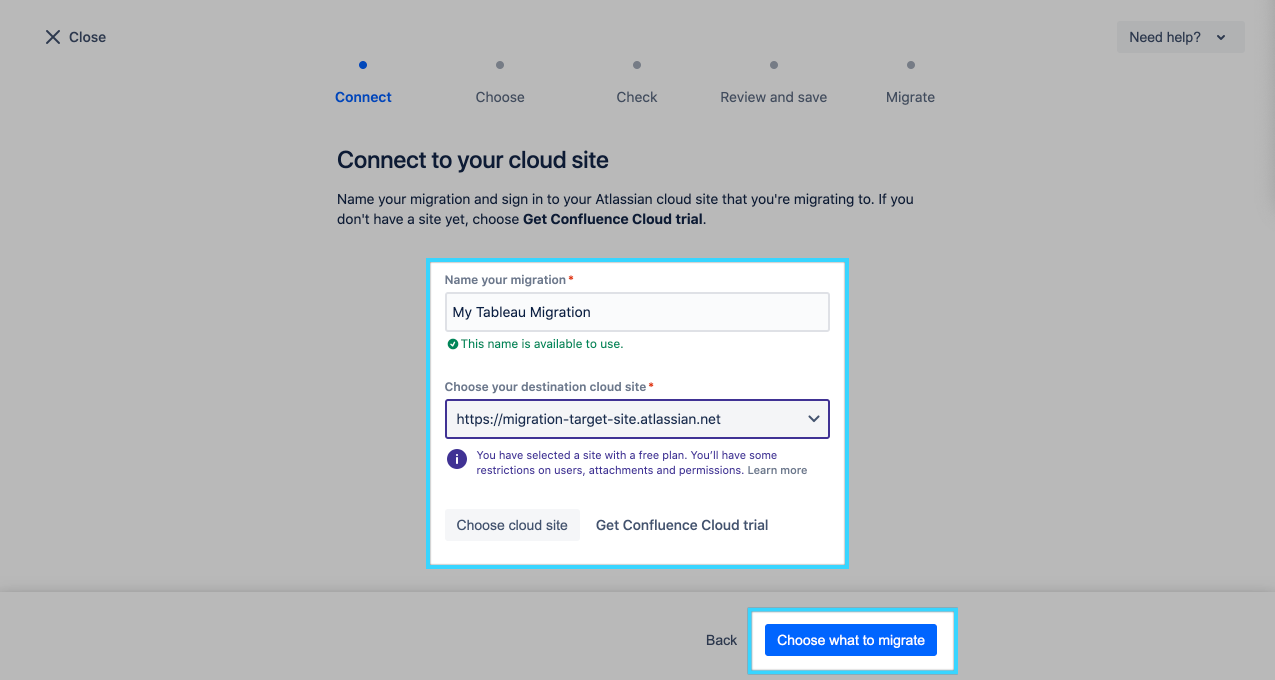
On the “Connect” page, name your migration, and choose your cloud site:
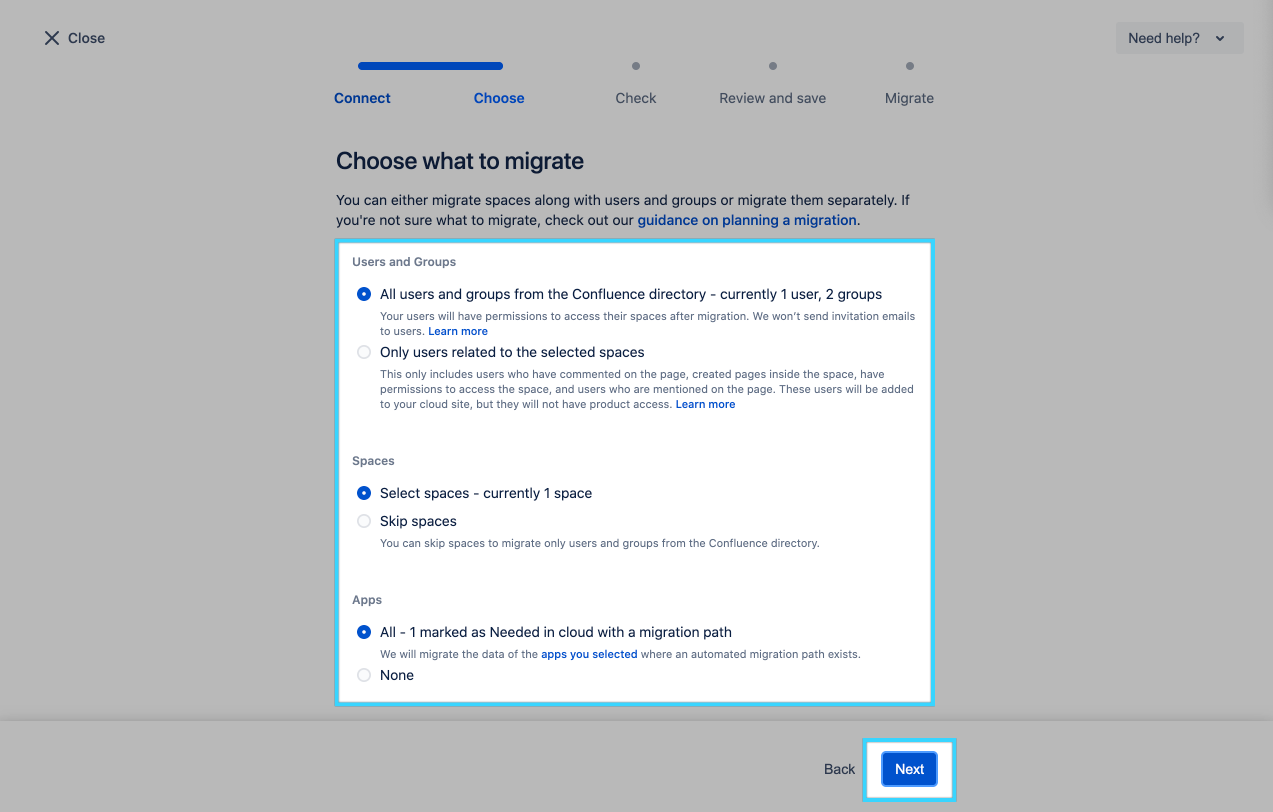
On the “Choose” page, choose what to migrate:
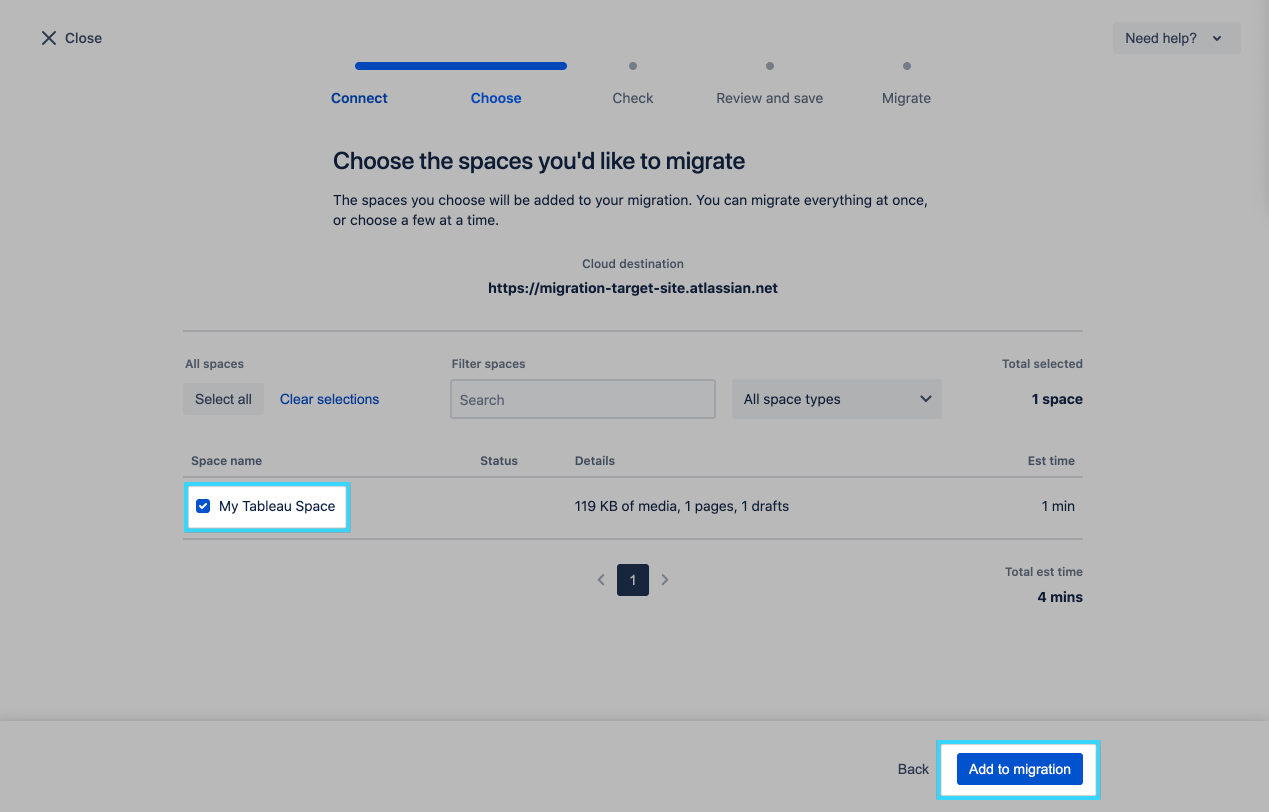
On the next page, choose the spaces that should be included in the migration:
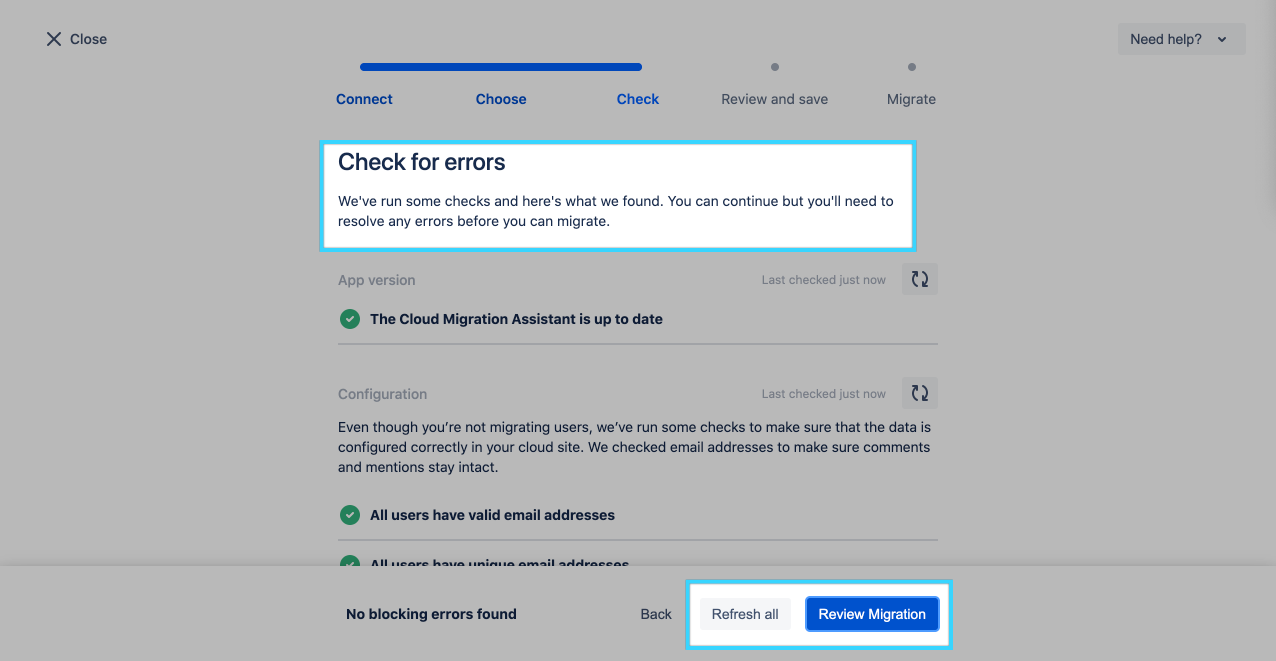
On the “Check” page, fix any errors, and continue when done:
Ensure Tableau for Confluence - Pro is listed in the apps to migrate.
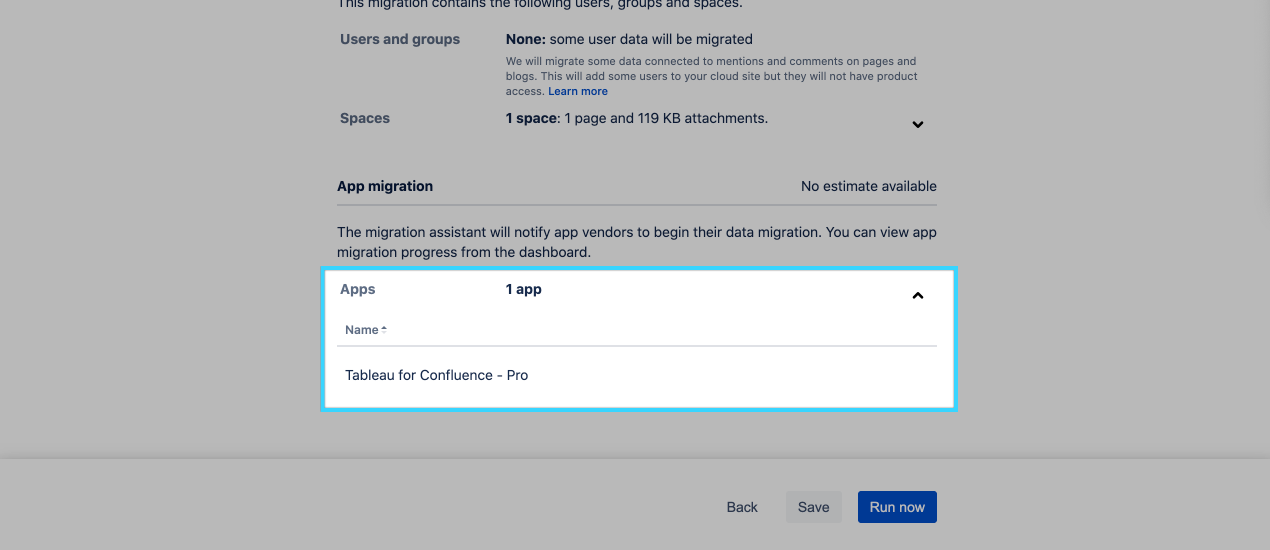
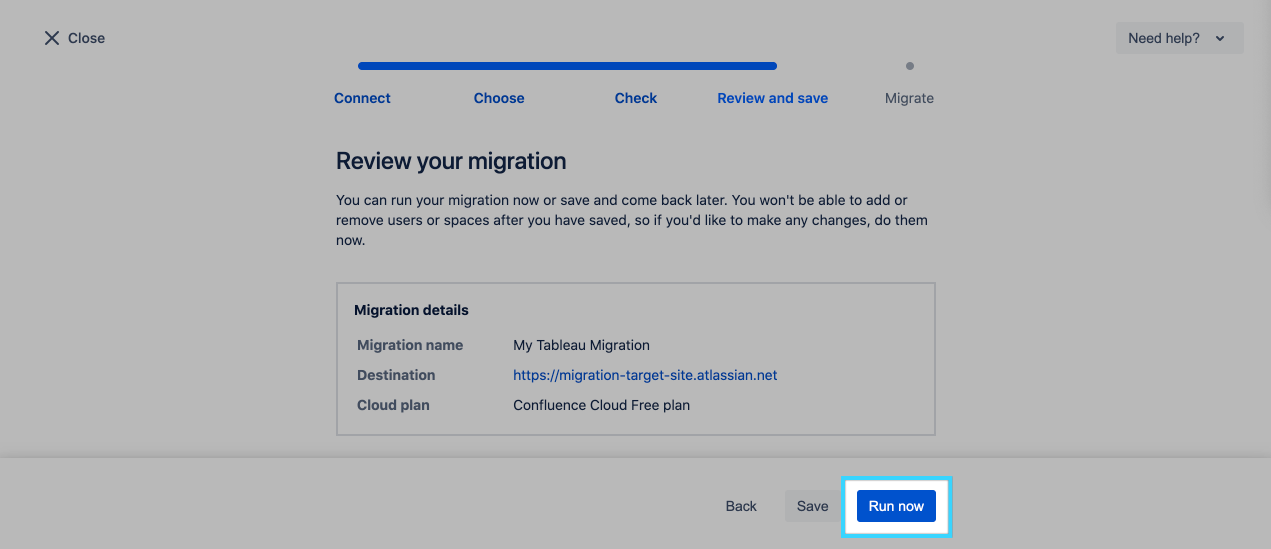
Run the migration: