| Info |
|---|
Please, remember to log in to your Jira instance with Administration access so you can manage Notification Assistant and create email templates. |
| Table of Contents |
|---|
To send email notifications, you can use the Default Email Template or create a new one. To set up your email template, go to the Notification Assistant administration. Click on the dark blue "Add Email Template" tab to open the template editor.
%20(2).png?version=1&modificationDate=1599477840302&cacheVersion=1&api=v2)
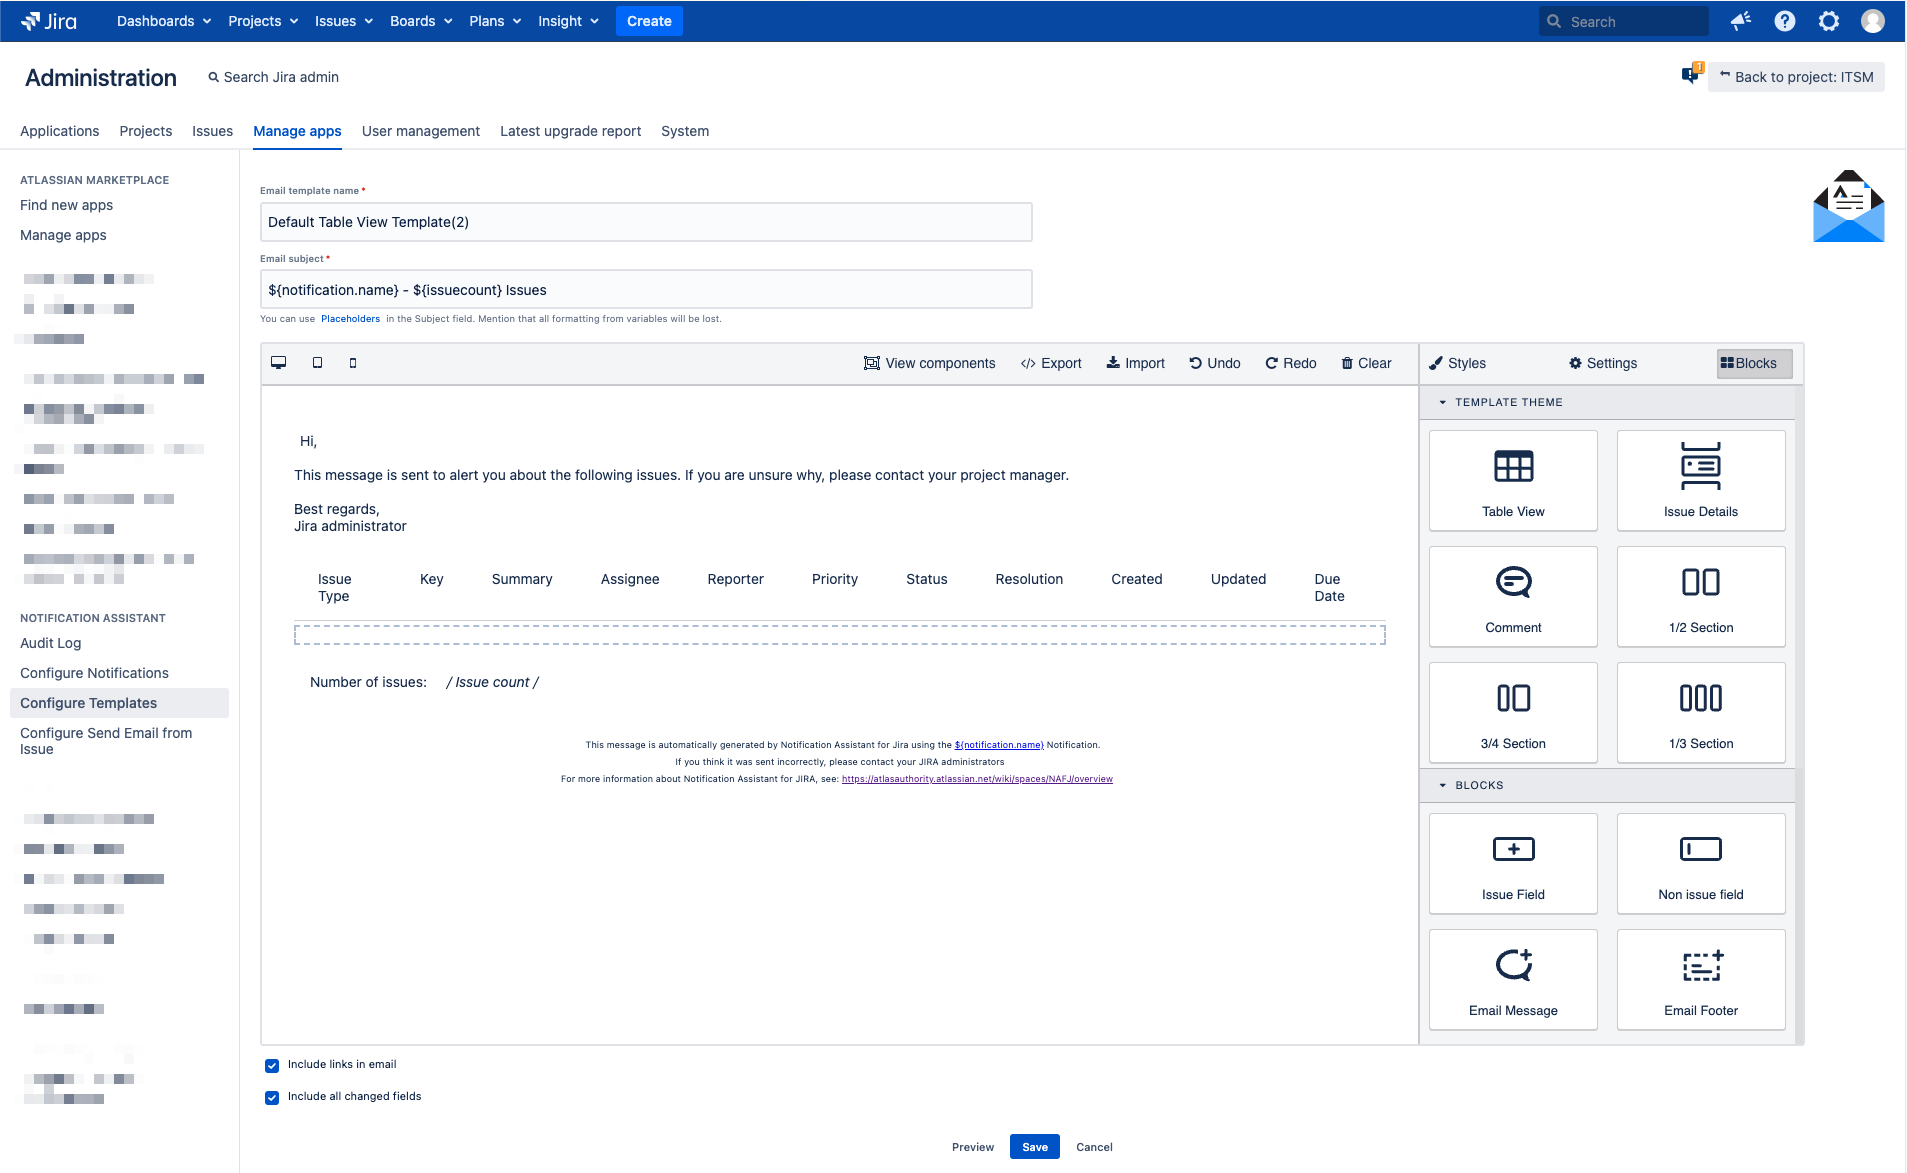
Setting up a Template
| Iframe | ||||||||
|---|---|---|---|---|---|---|---|---|
|
Template Themes
We provide 4 out-of-the-box template themes. Use the Issue Details template theme for a Jira (Core, Software, or Service Desk Agent) notifications. The Table View template theme helps you show a list of notifications in one email. With the Comment template, you can display an issue and its comment in the email notification. Customize any of these themes in the template editor to create the notification email you need.
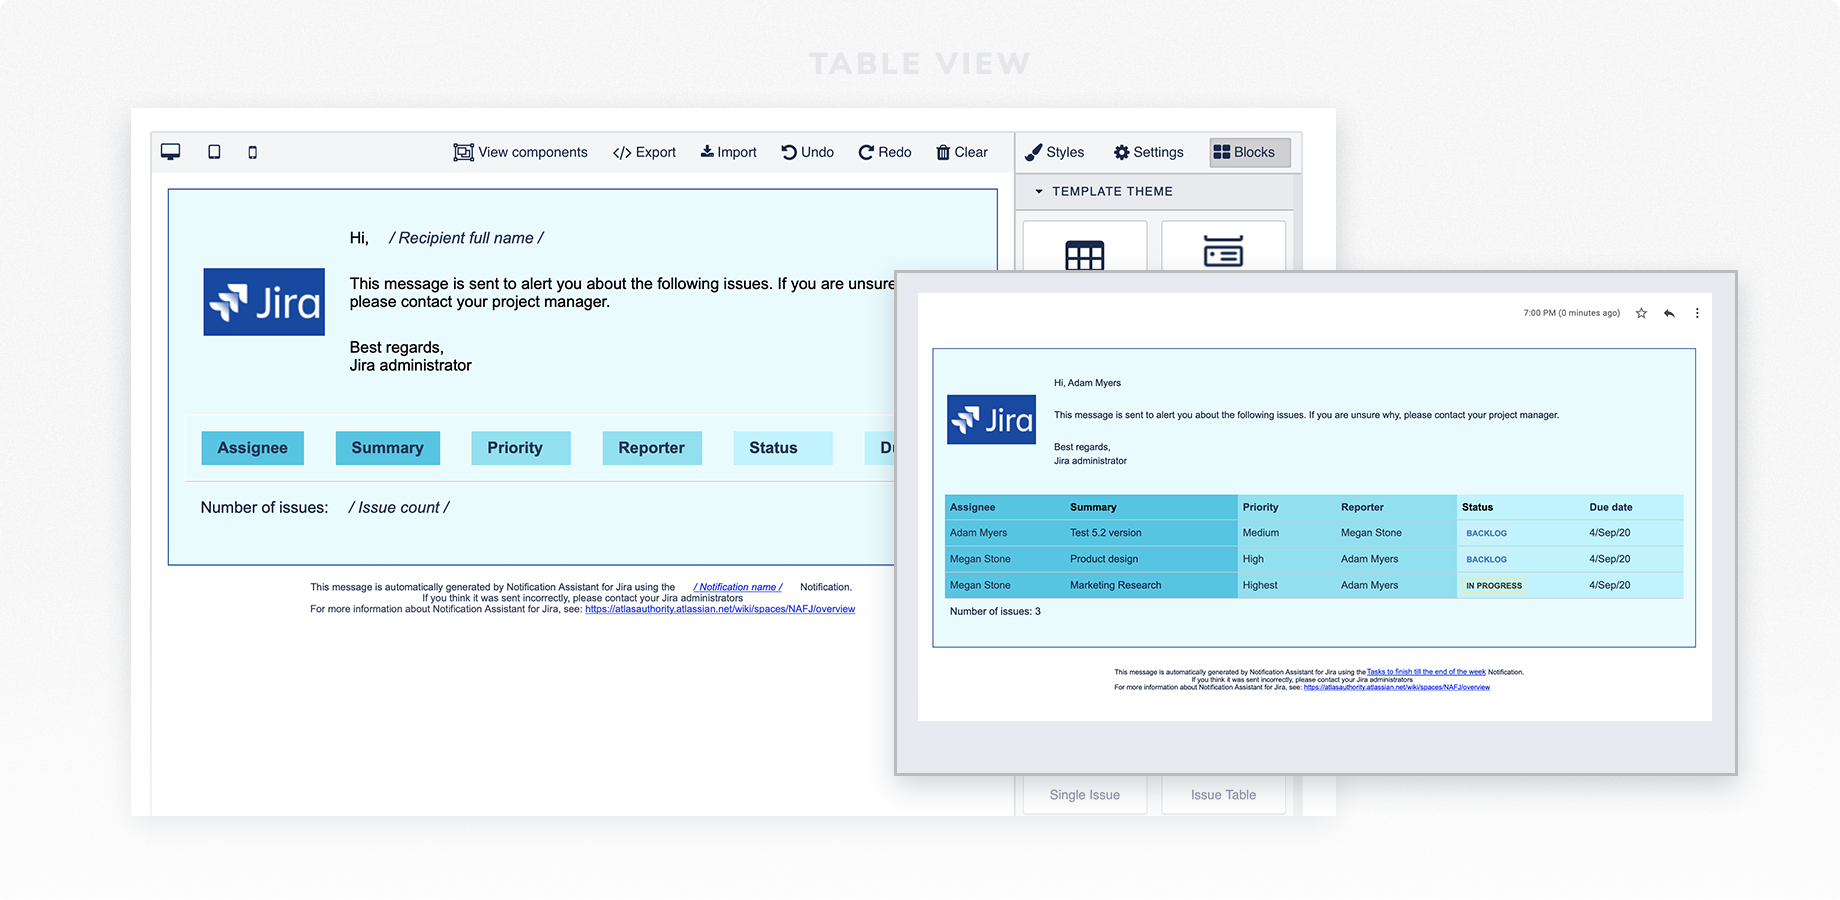
Table View. Use this type of default email template to notify recipients and provide the information on the long list of issues. An example of a customized “Table View” email template:
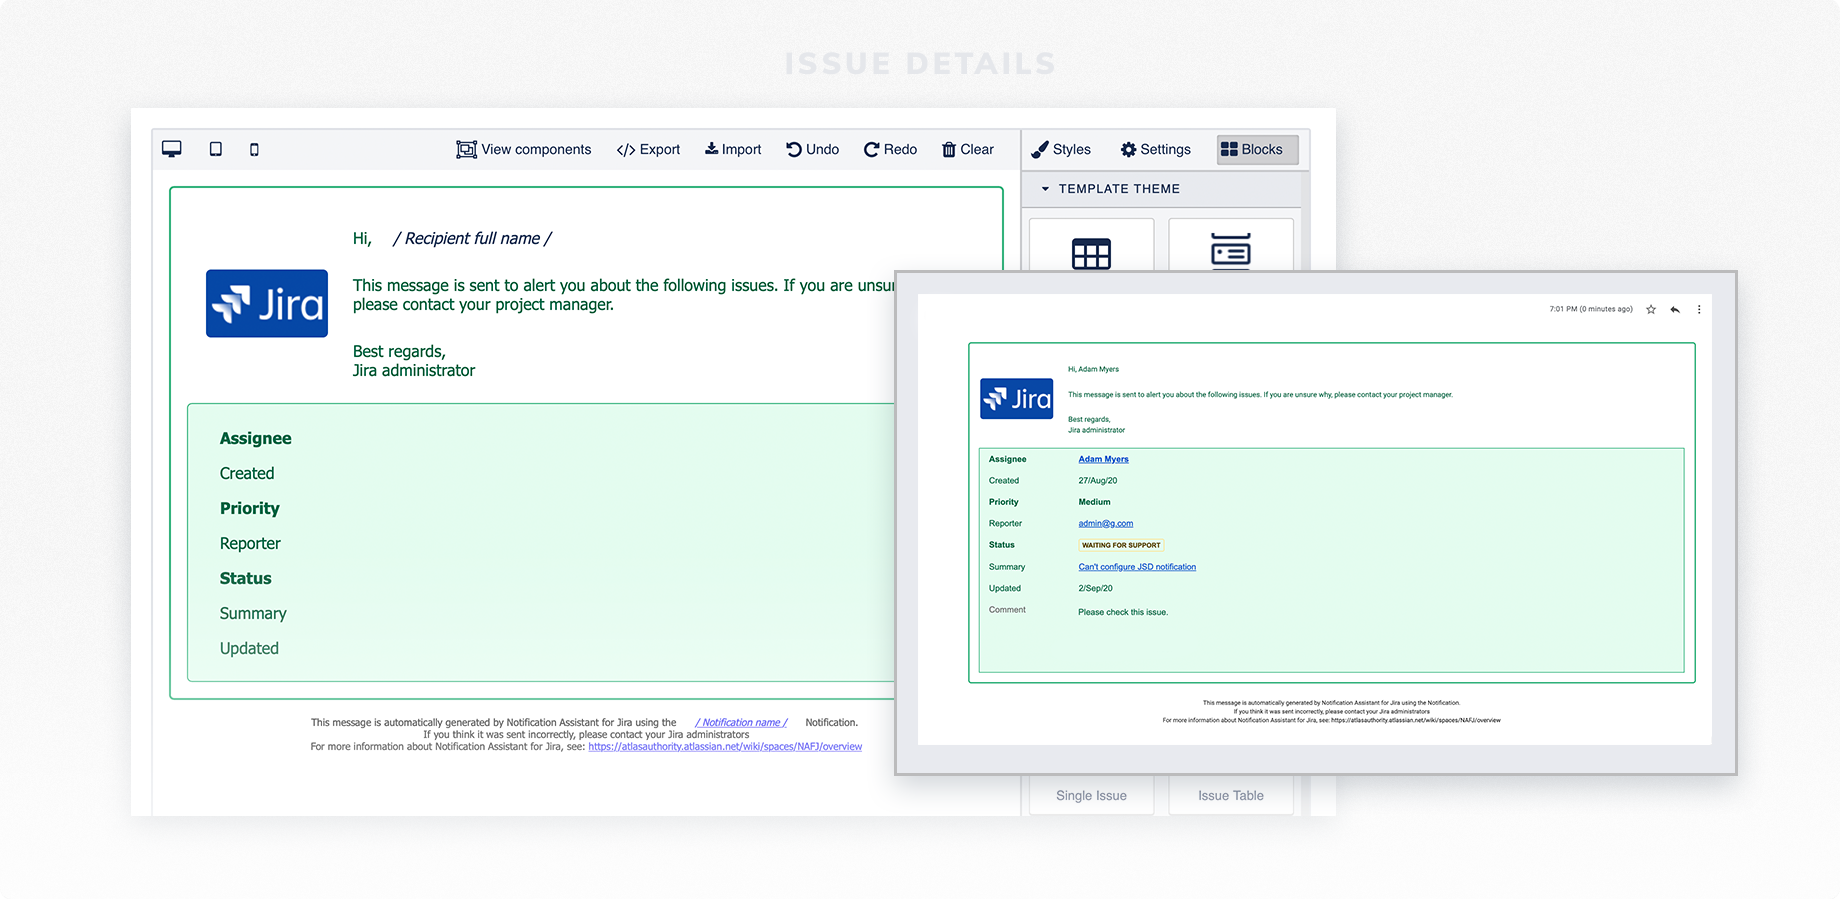
Issue Details. This template theme is applied to include a one-issue notification. The email, based on the Issue Details template theme, provides the user with the relevant information from the issue. An example of a customized “Issue Details” email template:
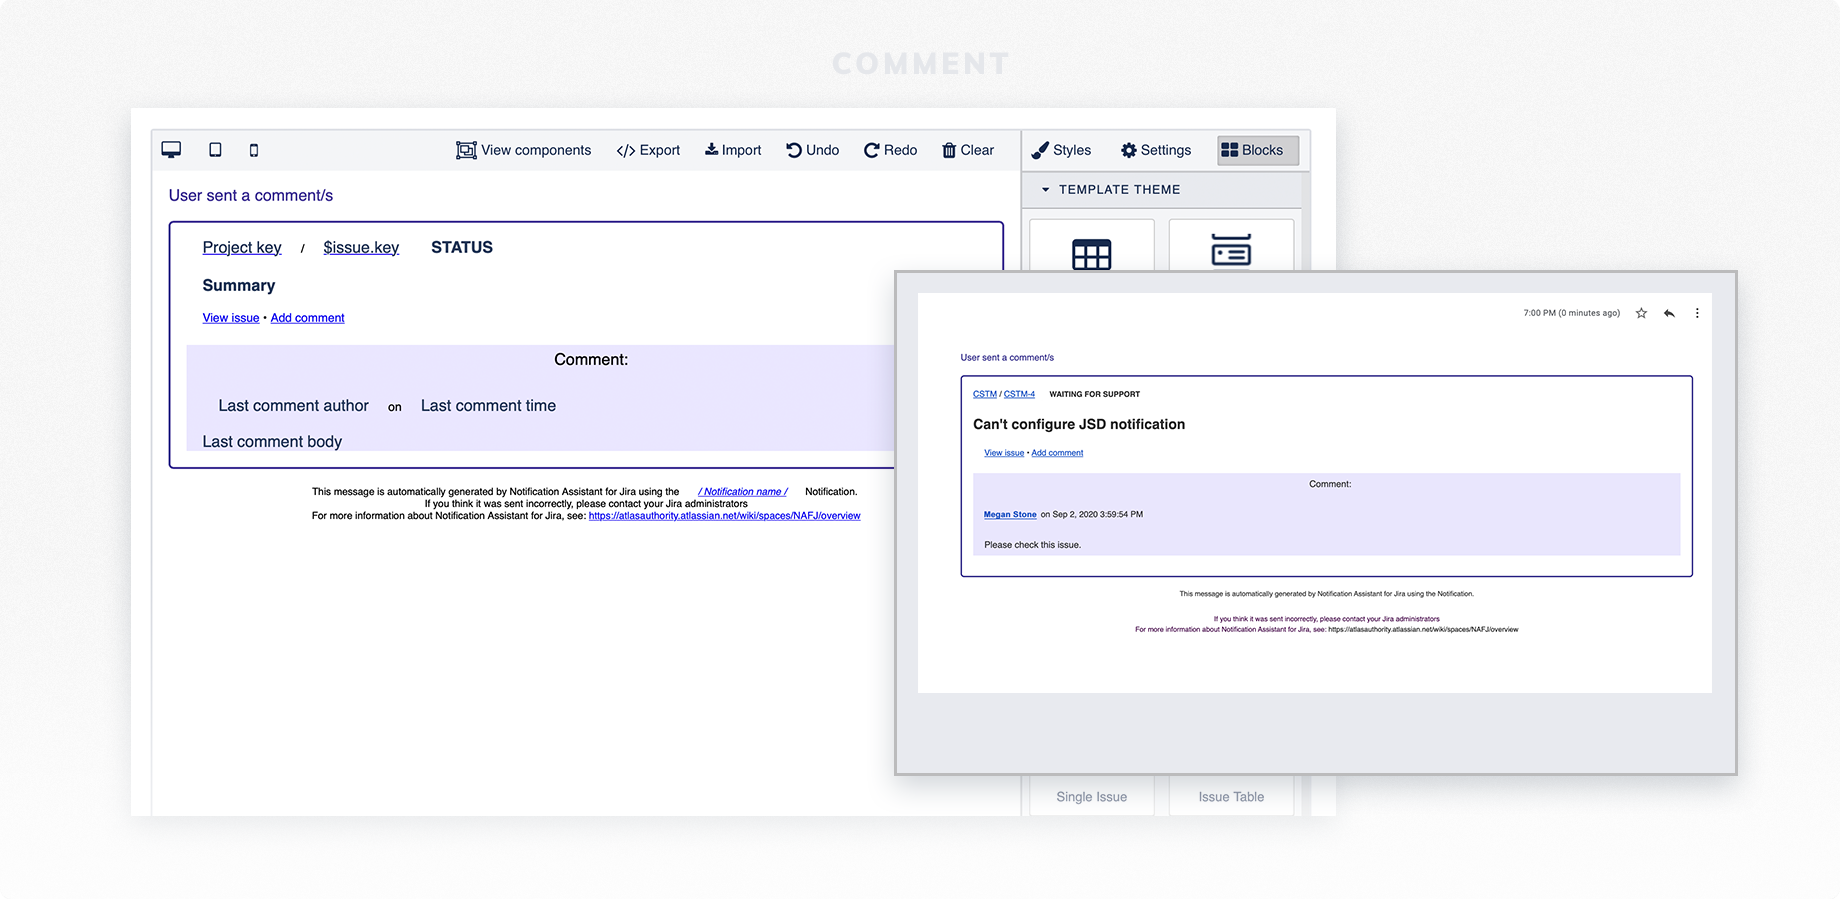
Comment. Send comment notifications that include the most relevant information in your email. Apply the Comment template to your triggered notification or use it for Send Email from Issue feature. An example of a customized “Comment” email template:
You can find all these template themes in the Block section. To paste the necessary template theme, Clear the editing block and drop the template theme you need to work with.
Block Section
To expand these pre-defined templates, you can add the following blocks to customize your emails.
Issue field. You can add the issue field block in pre-defined email templates or/and insert them into the text. In this case, the issue fields you inserted will be substituted with the related issue field's value. After you drop an issue field into the content-box, you should select it and go to the Settings to set up the Field Name.
Non-issue field. This field isn’t related to an issue but related to a notification. Use non-issue fields to add things like the recipients full name into an email message, email footer, or any other custom text block. Please do not add any non-issue fields to the issue block.
Email message. Use this prepared template block as an email header to introduce the contents of the email. It includes your Jira logo and text message.

Email footer. Customize your footer to let your recipients know the reason why they get their notifications. It's fully customizable and may include issue and non-issue field, text, link, or divider.
Single issue. Include a block with issue details in your email template. No header or footer is included. Configure issue fields depending on your notification requirements.
Section. Allows you to separate an email into two halves, thirds or a 3/4 split.

Image. Allows you to include an image in an email by providing a remote URL. Please note that this url should be accessible without authentication for this to work consistently in recipient email clients.
Issue table. Similar to a Single issue, Issue Table but makes it easier to read the list of Jira or JSD issues in one email for the recipient. Configure issue fields depending on your notification requirements.

Loop block. If you need to iterate the values of some fields, add them to the Loop block. We do not recommend using the Loop block with prepared email templates.
Text. Add a text section to your email. Customize only a part of the text from the block section by selecting it and using the text editing menu, which appears next to your selected text.
Text section. Add a text block, that includes a heading and simple text section.
Divider. Add a divider to your email template. Apply styles to make it yours.
Link. Add a link as a separate element to your content box.
Styles
Apply all the styles to a specific Class. The class applies to a block section. If you need to customize separate words in the text, click twice on the text to display the editing menu.
Classes. Control which classes you apply to any of your blocks.
Dimension. Set up sizes, margin, and padding for your blocks.
Typography. Customize font family, size, weight, letter spacing in a Typography section. Apply colors to your text (provide a color number, or pick it from the color palette). Specify the alignment of text in an element.
Decoration. Set up background color and border for your element, specify border-radius.
Settings
Element Attribute Configuration
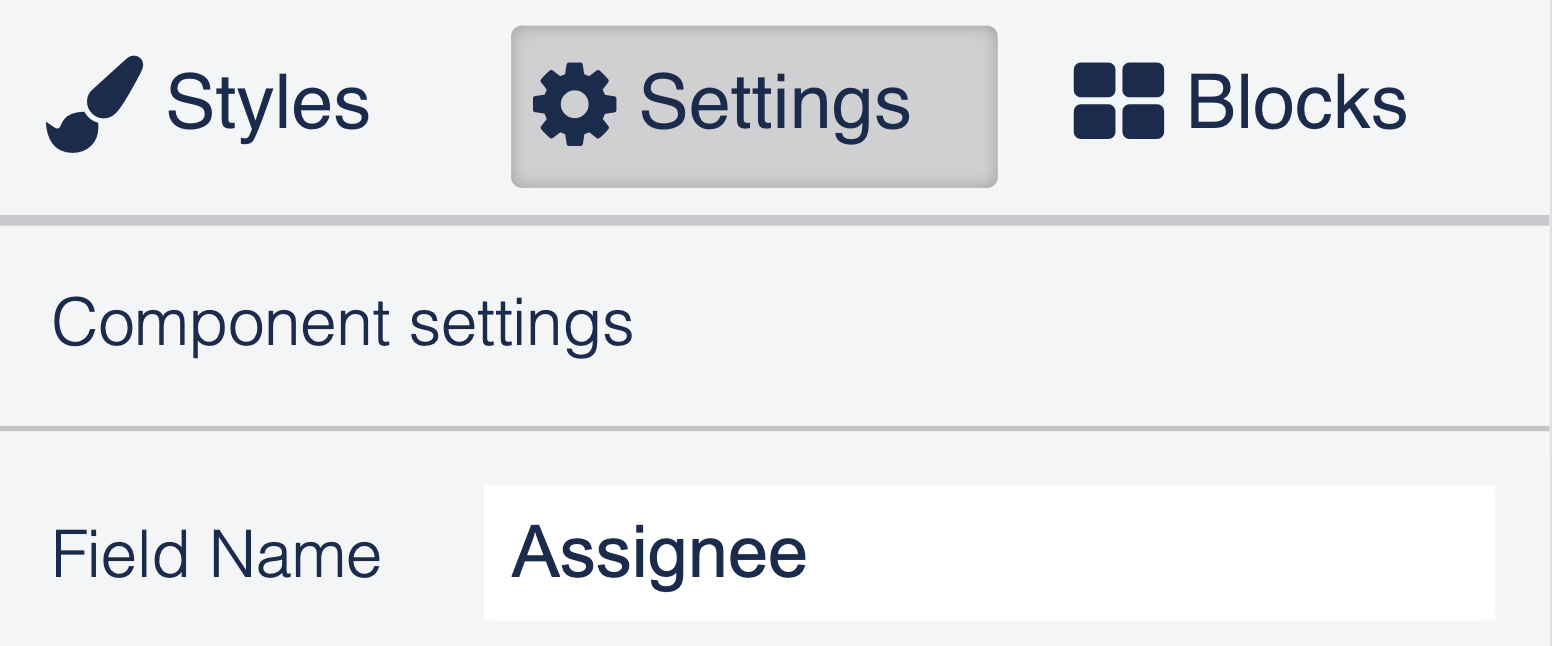
Issue field. In the Setting section, you can choose a name for the selected issue field.
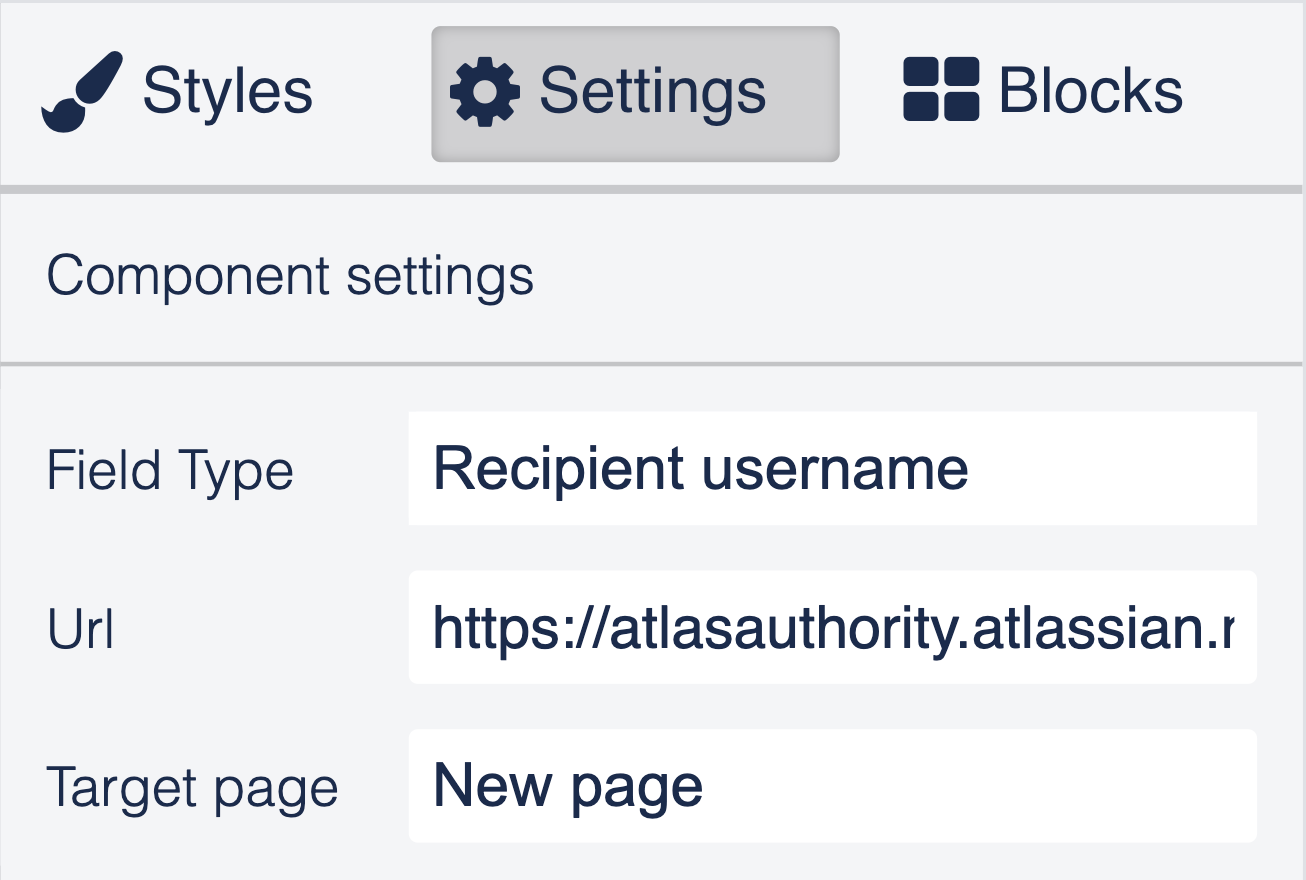
Non-issue field. Select a Field Type for the non-issue field in settings. If you add a link to this element, you can also provide a page URL and Target page.
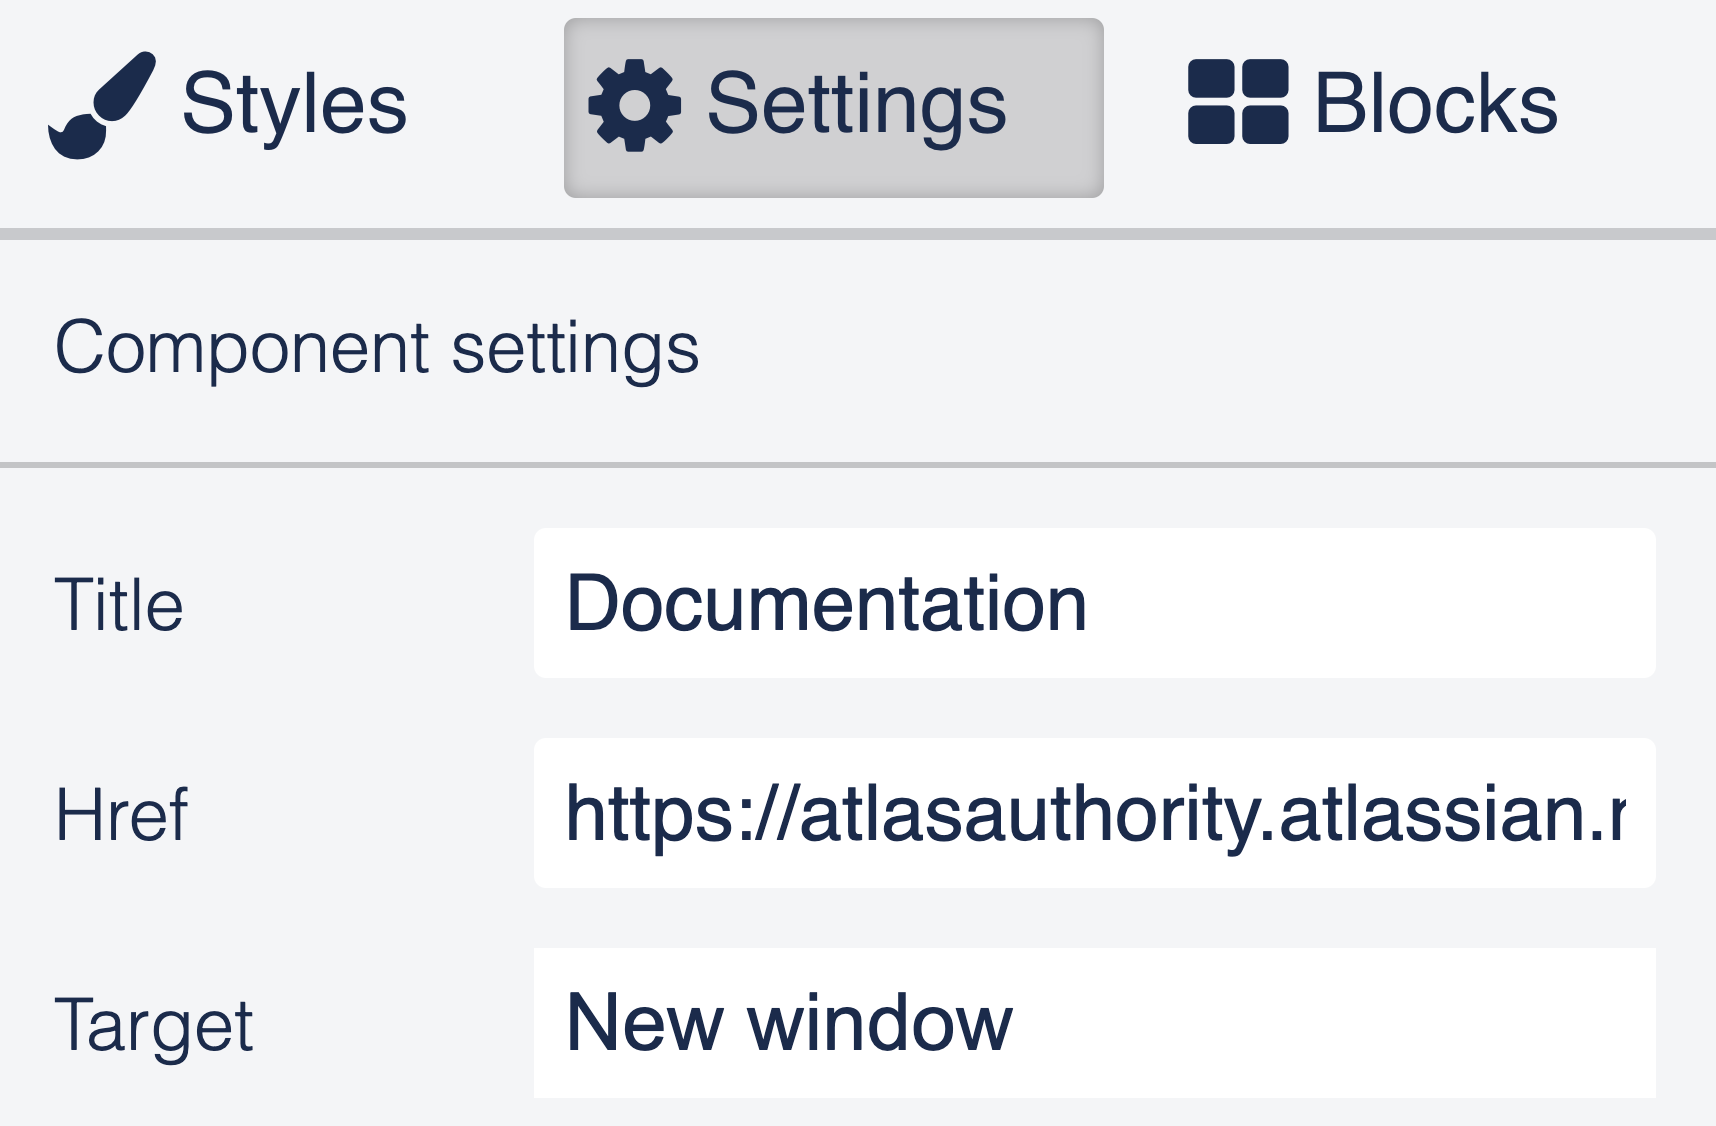
Link. Title Url Target
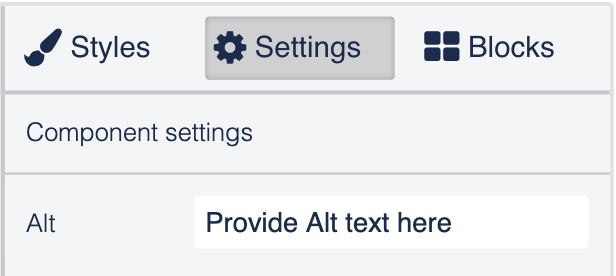
Picture. Provide Alt text in the settings for the images in your email template.
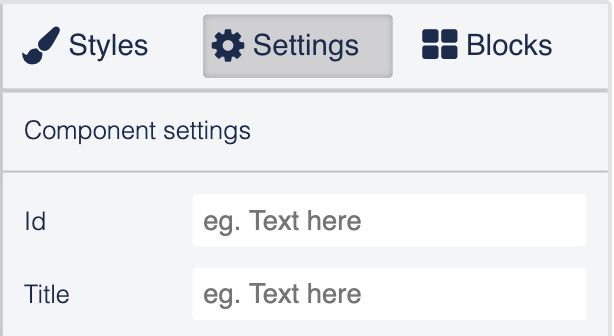
Text block. You can add Id and Title for the text block.
Functional Panel

On the left side of the functional panel, you can get a preview of your email template for a desktop, tablet, or mobile. You can also view components to highlight the structure of your email template. It helps you to configure elements and makes it more convenient to apply styles to them.
Export and Import buttons allow you to save the HTML code of a created email template or upload your personalized one. Please, note that you can’t edit your code after you import it to the Template Editor.
Undo or Redo your actions. Use the Clear button to remove all the elements or imported email templates from the Content Box.
Link Checkboxes
There are two checkboxes you can configure in the Template Editor below the Content Box.
Include links in email. Check it if you need to add any links back to Jira in your email template.
Include fields changes. Add field changes and any updated field that you haven't configured to the notification. It only applies for event triggering.
Import Email Templates
You can import your own hardcoded email templates. Visit Import Email Template to learn more.